

Best In Ground Trampoline for Active Families
July 19, 2026
In Ground Trampoline Safety Enclosure Guide
July 21, 2026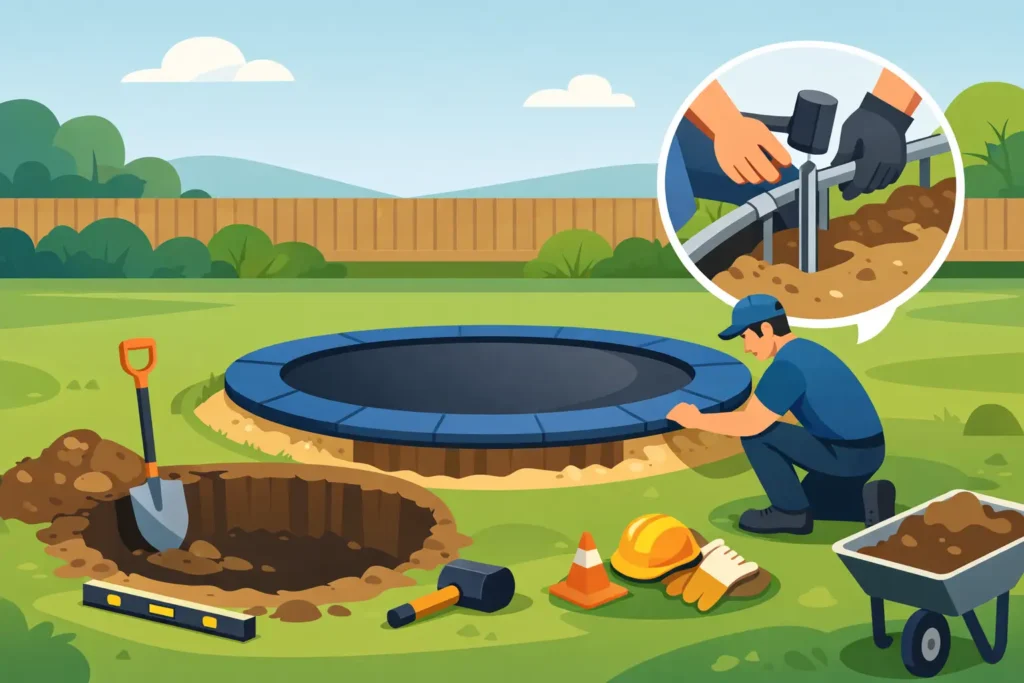
A great in-ground trampoline should feel like it belongs in your backyard, not like it was dropped into it. The lower profile looks clean, makes getting on and off easier, and creates a dedicated place for kids to burn energy outdoors. But learning how to install an in ground trampoline starts well before the first shovel of dirt moves. The site, drainage plan, excavation shape, and safety system all matter just as much as the trampoline itself.
For many homeowners, this is a satisfying weekend-and-contractor project rather than a simple afternoon assembly. Premium in-ground systems are built for years of family jumping, so taking time to prepare the ground correctly protects that investment and helps create safer play from day one.
Start With the Right Site and Trampoline Size
Choose the trampoline before you mark the excavation. A 10-foot round model can be a smart choice for a smaller yard or younger children, while 12-foot and 14-foot round trampolines offer more room for active families and frequent use. Rectangular options, such as 10-foot by 6-foot or 11-foot by 8-foot models, can fit beautifully along a patio line, fence setback, or narrower side-yard recreation area.
Measure more than the frame diameter. You need clearance around the trampoline for the safety enclosure, access, maintenance, and a comfortable landscape border. Keep the area clear of trees, overhead branches, rooflines, play equipment, and hardscape edges. Avoid placing a trampoline directly beneath power lines or close to a steep slope.
The best location is level or close to level, receives reasonable drainage, and gives adults a clear view of the jumping area from the house or patio. A tucked-away corner may look convenient, but it is not always the best family location if supervision becomes difficult.
Before digging, contact your local utility-locating service. Underground gas, electric, water, irrigation, cable, and sewer lines can turn a backyard project into a serious hazard. Review local building rules and HOA requirements as well. Some communities have setback, fencing, drainage, or permit requirements that affect where the trampoline can go.
Plan Drainage Before You Excavate
Water is the biggest installation issue homeowners can prevent. An in-ground trampoline needs air circulation beneath the jumping mat, but it also needs a dry, stable pit. If rainwater collects below the frame, it can create mud, encourage corrosion, attract insects, and reduce the usable life of the system.
Look at how water moves across your yard after a heavy rain. Do not install the trampoline at the lowest point simply because digging there seems easier. If the preferred location has slow drainage, plan for it with a drainage layer, a small sump area, or a drain system appropriate for your property. In some yards, especially those with clay soil, high water tables, or frequent heavy rain, professional drainage advice is worth the cost.
Your chosen trampoline’s installation manual should guide the pit dimensions and ventilation requirements. Follow that model-specific guidance rather than guessing based on the visible frame size. In-ground trampoline systems are designed with particular wall angles, depth, and airflow needs in mind.
Mark the Pit and Prepare for Digging
Once you have confirmed the location, use the supplied template or frame measurements to mark the perimeter. Spray marking paint works well for outlining the dig area. Check the shape and placement from several angles before you begin. This is the moment to catch a trampoline that sits too close to a retaining wall, landscape bed, or future patio furniture zone.
Plan where the removed soil will go. A trampoline pit creates more excavated material than many homeowners expect. You may be able to use clean soil to level another part of the yard, build a gentle landscape contour, or fill low spots. If not, arrange for disposal before excavation day.
For a small, accessible backyard, a compact excavator operator can complete the digging quickly and accurately. Hand digging is possible, but it is demanding and makes it harder to create consistent walls and a level base. If access is limited, ask an excavation professional about equipment options before committing to the location.
How to Install an In Ground Trampoline Pit
Excavate the pit according to the dimensions in your trampoline manual. The finished hole is typically not a straight-sided cylinder or box. Many systems require sloped or shaped walls so the jumping mat has adequate clearance below it and the ground does not interfere with bounce performance.
As you dig, check the depth and level frequently. The top of the frame should finish flush with the surrounding lawn or intended surface. A frame that sits above grade loses the sleek in-ground appearance and can create a trip point. A frame that sits too low can collect surface runoff and make mowing or edging around the perimeter more difficult.
Do not compact the bottom so aggressively that it worsens drainage. Instead, create a stable, reasonably level base that follows the installation instructions. Remove large rocks, roots, construction debris, and sharp objects from the pit. These can damage protective materials or create drainage problems later.
If your model includes retaining walls, a vented liner, protective padding system, or other pit components, install them in the specified order. These pieces are not cosmetic extras. They help keep soil from shifting, support proper ventilation, and protect the trampoline structure over time.
Build in Proper Airflow
An in-ground trampoline needs room for air to move beneath the mat while someone jumps. Without ventilation, the mat can feel sluggish and the pit can retain moisture. Use the manufacturer-provided venting components and do not cover intended vents with mulch, soil, sod, or decorative stone.
This is one reason a premium purpose-built in-ground trampoline is a better choice than trying to bury a standard above-ground model. Purpose-built systems account for the frame position, air movement, and ground interface from the beginning.
Address Difficult Soil Conditions
Rocky soil, clay, sandy soil, and high groundwater each require a different approach. In rocky ground, expect extra time for excavation and careful removal of sharp material. In clay, drainage deserves extra attention because water may sit in the pit long after rainfall. In sandy soil, stable wall construction and retaining components become especially valuable.
If the pit walls begin to crumble, if water seeps in continuously, or if your yard has a noticeable grade, pause and bring in a qualified landscaper, excavator, or drainage professional. A little expert help is far less expensive than rebuilding a failed pit after the trampoline is installed.
Assemble the Frame at Ground Level
With the pit prepared, assemble the galvanized steel frame exactly as directed by the manufacturer. Lay out all parts first and confirm that you have the correct frame sections, springs, hardware, mat, padding, enclosure parts, and ground-level components. Keeping hardware sorted in small containers saves time and prevents a missing bolt from slowing down the project.
Galvanized, rust-resistant steel is a meaningful advantage for a long-term outdoor installation, but it still deserves careful assembly. Tighten hardware to the specified level, use the recommended tools, and do not substitute random fasteners from the garage. Check that the frame is round or square as intended and fully level before attaching the mat.
Attach springs in an even pattern, working across from one side to the other. This keeps tension balanced and makes installation easier. Spring-pulling tools and gloves can help protect your hands. Keep children and pets away from the work area until the trampoline, padding, and enclosure are completely installed.
Finish the Surface and Safety System
Once the frame is positioned in the pit, check the finished height around the entire perimeter. Make small adjustments before completing the final assembly. Then install the safety pads so springs and frame connections are covered as designed.
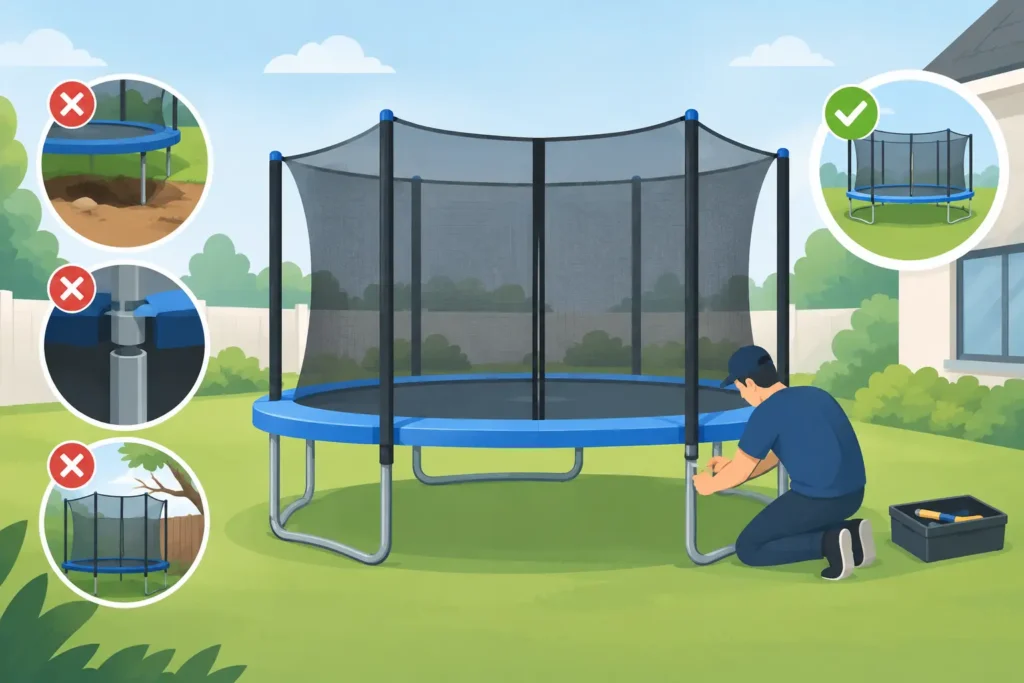
A safety enclosure is strongly recommended for family use, particularly when children will be jumping. Install the enclosure poles, netting, and entry system according to the product instructions, making sure the net is properly tensioned and the entrance closes securely. The enclosure supports safer play, but it does not replace active supervision or sensible jumping rules.
Finish the surrounding area with a clean edge that does not block ventilation or direct water into the pit. Grass can create a natural look, while pavers, artificial turf, or a carefully designed landscape border may suit a more polished backyard plan. Leave access for periodic inspection and cleaning.
Before the first jump, walk the perimeter and inspect every connection. Confirm that the frame is level, pads sit correctly, the mat has even tension, drainage is clear, and the enclosure is secure. Establish simple rules: one jumper at a time, no flips without appropriate training, and adult supervision for younger children.
A properly installed in-ground trampoline becomes more than backyard equipment. It becomes the place where after-school energy gets spent, teens reconnect with the outdoors, and weekends fill with the kind of family fun that lasts. Choose quality materials, respect the preparation work, and give your family a jumping space built to be enjoyed for years.