
Trampoline Ownership Cost Guide for Families
October 10, 2026
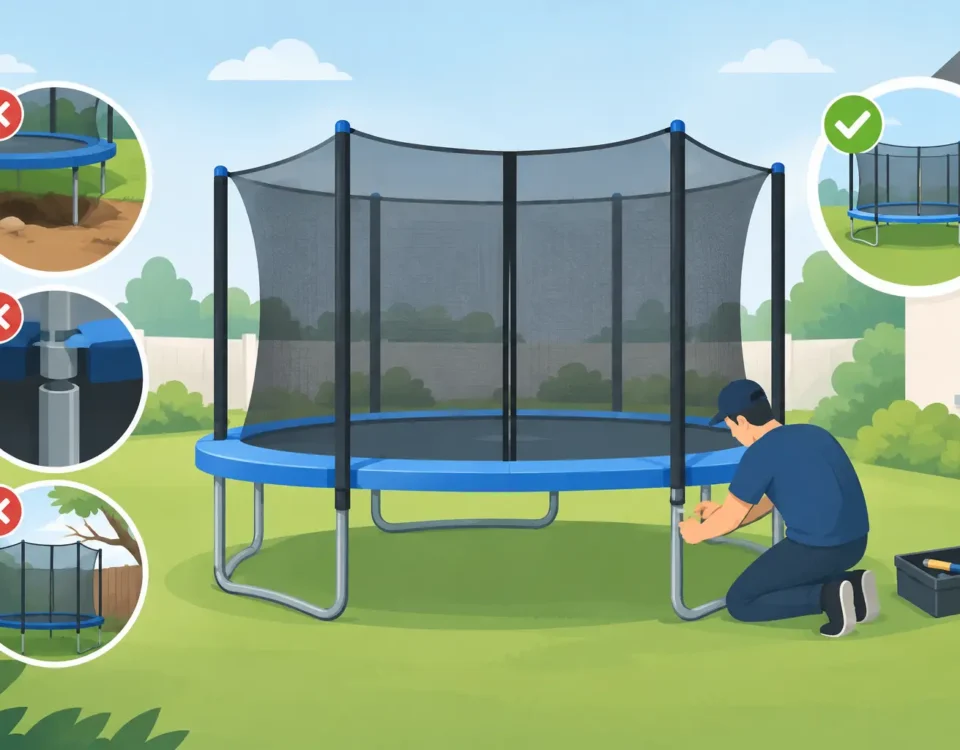
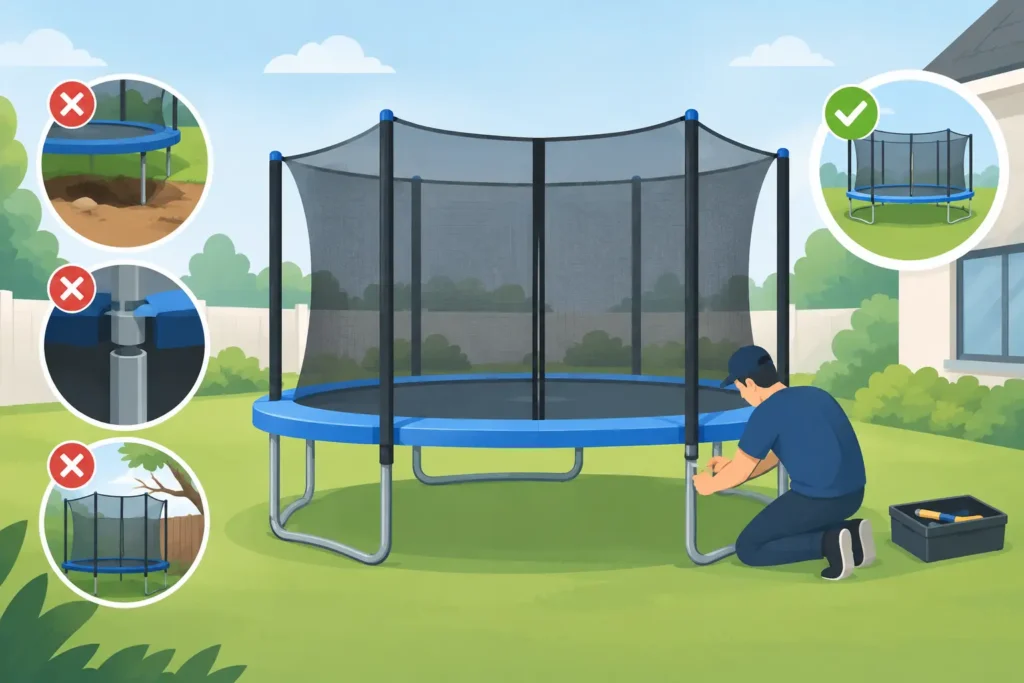
9 Trampoline Installation Mistakes to Avoid
October 14, 2026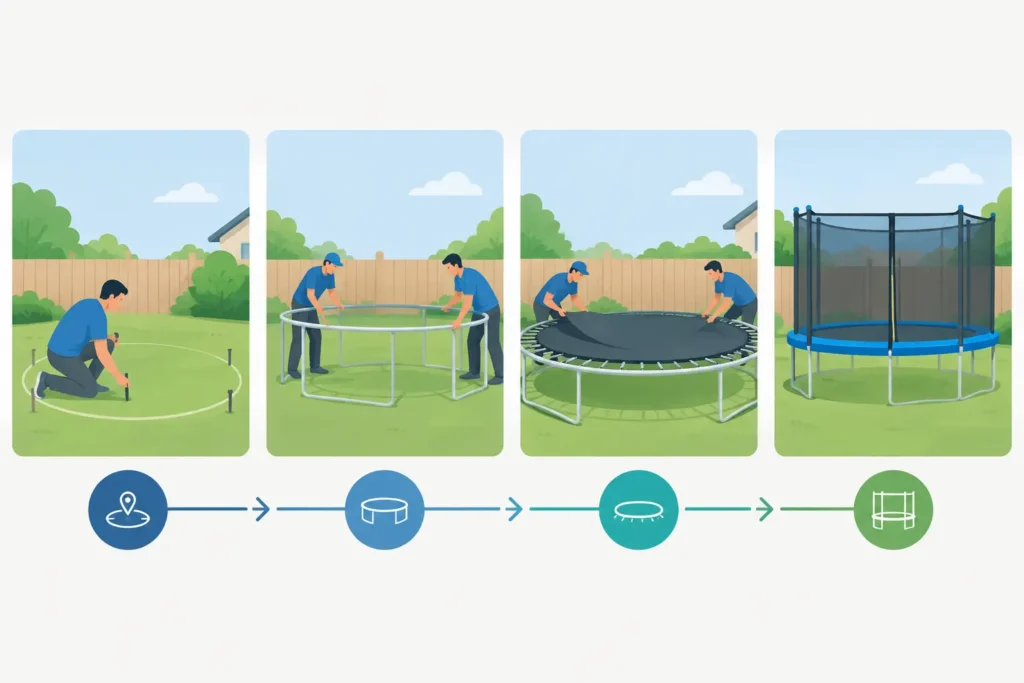
A premium in-ground trampoline can become the backyard spot your children race to after school, but it is not a purchase to leave until the weekend before a birthday party. A realistic trampoline installation timeline gives your family time to choose the right location, prepare the ground correctly, and finish every safety detail before the first jump.
For most homeowners, plan on two to six weeks from placing an order to having a fully installed trampoline ready for use. The shorter end applies when your yard is accessible, the product is available, and you have an experienced installer scheduled. The longer end is more common when excavation, drainage planning, landscaping, contractor availability, or a weather delay enters the picture.
What Shapes Your Trampoline Installation Timeline?
The trampoline itself is only one part of the project. An in-ground system needs a level area, a correctly sized excavation, reliable airflow below the mat, and room around the jumping surface for safe access and an enclosure where applicable. Planning these elements early protects the value of your investment and helps prevent a rushed installation.
Shape and size affect the schedule. A round 10-foot model may be easier to fit into a compact backyard than a 14-foot system, while rectangular formats such as 10-foot by 6-foot or 11-foot by 8-foot can make excellent use of a narrow or carefully landscaped space. A larger trampoline does not necessarily take much longer to assemble, but it does require a larger dig area and may need more deliberate site planning.
Your local conditions matter, too. Wet soil can make excavation messy and unstable. Rocky ground, roots, sprinkler lines, buried utilities, slopes, and tight gate access can all add time. This is why a quick look at the yard before ordering is far more useful than assuming any open patch of grass will work.
Weeks 1 and 2: Select Your Site and Trampoline
Start with the place where the trampoline will live, not simply the model you like most. Measure the available area and account for open clearance around the trampoline. Keep the installation away from trees, fences, play structures, patios, raised garden beds, and hardscape edges. The goal is a dedicated play zone where jumpers are not landing near obstacles.
Look overhead as well. Tree limbs, roof lines, basketball hoops, utility lines, and low branches can create obvious safety concerns. Consider practical details that are easy to overlook: Can an excavation crew reach the area? Is there enough space to move soil out and bring equipment in? Will the trampoline fit naturally within the way your family uses the yard?
This is also the right time to choose a size based on who will use it. A smaller round trampoline can be a smart fit for younger children and compact yards. Larger round models give growing families more room, while rectangular options often suit homeowners who want a more defined footprint or have a long, narrow space. If several children will use the trampoline often, prioritize adequate jumping room and a quality safety enclosure over trying to squeeze the largest possible model into an unsuitable location.
Before excavation begins, contact your local utility-locating service and review any neighborhood, HOA, or permitting requirements. Rules vary by area. In-ground trampolines are low-profile, but some communities still have standards related to placement, drainage, fencing, or property setbacks.
Weeks 2 and 3: Delivery and Site Preparation
Once your trampoline is ordered, coordinate delivery with your excavation plan. You do not need every component sitting in the yard before the hole is dug, but having the product dimensions and installation instructions available helps your installer prepare the correct footprint. Avoid scheduling a dig from rough estimates alone.
A professional excavation team can often complete a straightforward dig in one day. However, site preparation may take longer when soil must be hauled away, a slope needs to be corrected, or drainage work is required. The excavation should follow the manufacturer’s specifications, including the cavity shape and depth needed below the frame.
Drainage deserves special attention. Water collecting beneath a trampoline can create muddy conditions, affect the ground structure, and make future maintenance more difficult. Depending on your soil and yard grade, the solution may be as simple as a well-prepared base and a clear drainage path. In wetter yards or clay-heavy soil, an installer may recommend additional drainage measures. This is one area where cutting corners can cost more later.
If your yard has irrigation, landscape lighting, invisible pet fencing, or buried lines for other outdoor features, make sure they are identified before excavation. Repairing a cut sprinkler line is frustrating. Discovering it after the trampoline is already in place is worse.
Week 3: Excavation, Assembly, and Safety Setup
On installation day, the sequence usually moves quickly once the site is prepared. The crew completes or verifies the excavation, assembles the galvanized, rust-resistant frame, and positions it so the trampoline sits level with the surrounding lawn or chosen surface. Premium materials matter here because the frame will be part of your backyard for years, through changing seasons and active family use.
Next come the jumping mat, springs or spring system, pads, and any safety enclosure components. Follow the manufacturer’s instructions closely. A trampoline is not ready just because it looks finished from across the yard. Every connection, pad position, frame section, and enclosure attachment should be checked before anyone climbs on.
Expect assembly to take several hours for a standard in-ground trampoline, potentially longer for larger models or projects with detailed landscaping. If your installer is also adding turf, edging, retaining elements, drainage, or a pathway, schedule an additional day or separate landscaping visit.
Do not plan a backyard party for the same afternoon. Give the crew time to make adjustments, clear tools and packaging, and walk you through the finished system. A calmer first day means you can focus on teaching the rules rather than rushing children onto the mat.
Allow Time for the Final Yard Finish
The last stage is what makes an in-ground trampoline feel like a permanent, intentional part of your landscape rather than a construction project. The grass around the edge may need reseeding or sod. Soil displaced during excavation may need removal or redistribution. If the lawn was wet or machinery crossed it, allow time for the area to recover.
Some families install their trampoline before completing a larger backyard project. That can work well, particularly if a patio, fence, or landscaping update is already planned. Just protect the trampoline from debris and keep it covered when nearby work is happening. A weather cover also helps keep leaves, pollen, and seasonal debris off the mat when the trampoline is not in use.
For a simple installation, your children may be jumping within days of delivery. For a fully landscaped backyard transformation, the trampoline itself may be ready first while the surrounding lawn takes another few weeks to look finished. Both approaches are valid. The right choice depends on whether your priority is immediate outdoor play or a coordinated landscape result.
A Simple Timeline for a Smooth First Jump
If you want the project moving without unnecessary pressure, order your trampoline three to six weeks before the date you hope to use it. In spring and early summer, give yourself extra lead time because excavation and landscaping professionals are often booked well ahead.
Keep a small buffer for rain, utility marking, delivery timing, and contractor scheduling. It is much easier to tell the kids their new trampoline will be ready a few days early than to explain why the first jump has been postponed.
When the work is complete, set the ground rules before the excitement takes over: one jumper at a time, adult supervision for younger children, no flips unless users have proper training and conditions, and no shoes, toys, or rough play on the mat. A quality in-ground trampoline, installed with care and paired with the right safety system, gives your family a place to move, laugh, and make the kind of backyard memories that keep everyone outside a little longer.